SAFIERY UNIVERSITY
LIGHTWEIGHT SOLAR PANEL INSTALLATION OF TRIPPLE INSULATED SOLAR PANELS INSTALLATION OF iKAMPER KITS PURCHASED FROM DIFTA
This technical article is designed to give value to the reader through more knowledge on Lightweight Flexible Solar Panels.

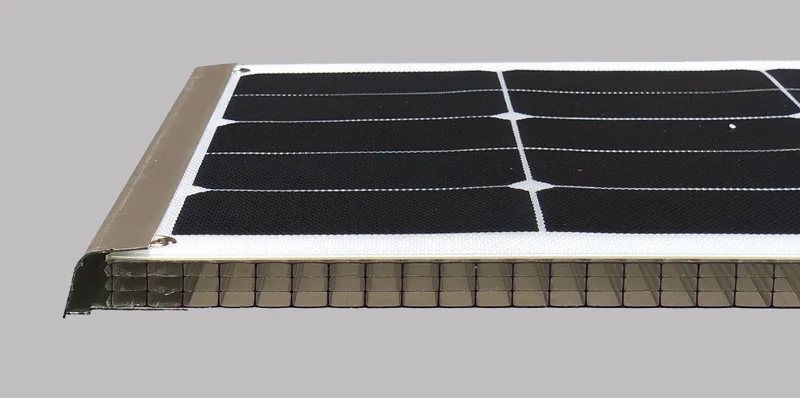
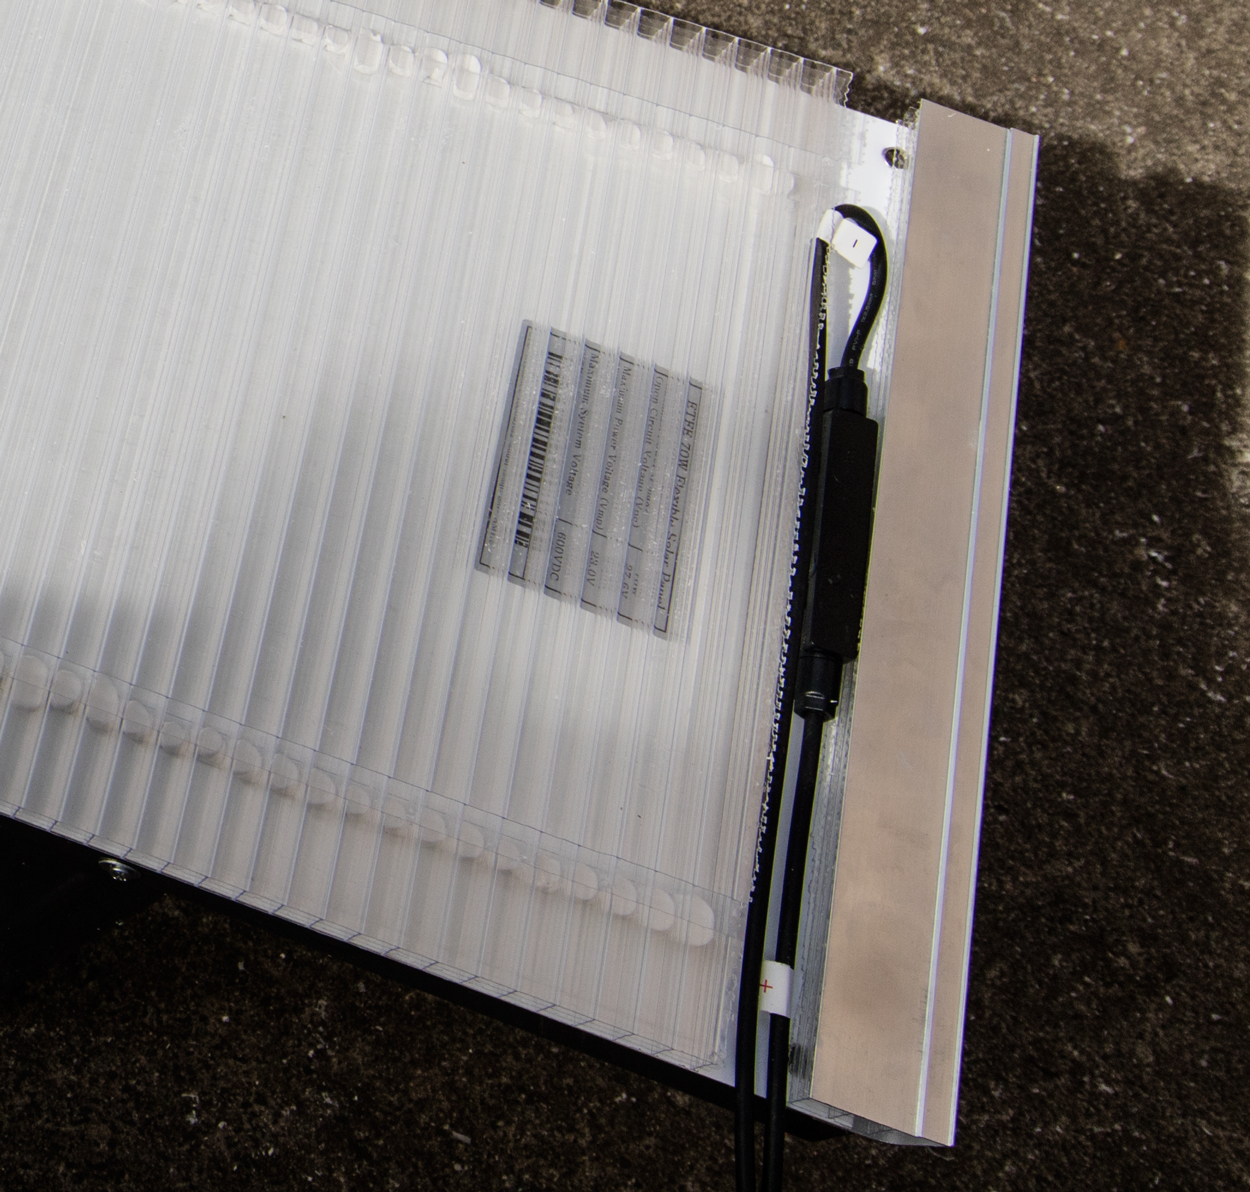
Principles of Design
1. INSULATION OF SOLAR FROM CARAVAN ROOF
Using a Triple Insulated UV rated Polycarbonate sucessfully separates expansion and contraction of the caravan roof from the solar panel.
Plus it has these benefits: The triple insulation promotes air-flow between the layers cooling the solar panel AND the caravan roof. The inside temperature of the caravan will reduce as the Polycarbonate has an “R” factor of 3. This means it transmits one third of the heat energy through to the caravans inside space.
The polycarbonate is attached to the solar panel with two simple runs of Sika 252 and additional placement to secure the end caps. The solar panel can expand and flex comfortably.
2. SOLAR PANEL CONNECTOR/OPTIMIZER CONCEALED UNDER PANEL
Having the optimizer installed under the panel and concealed has the major benefit of reducing damage from overhead tree braches running accross the top.
It also allows for the inter-panel cabling to pass through the cavity containing the optimizer so adjacent panels can have their cabling concealed on the roof.
3. EXTRUDED ALLOY PROTECTION CAPS
We designed and developed this extrusion specifically to:
- Cap the front and rear leading edges for general protection.
- Have a 3mm recess so that the new panel can be placed ontop of a failed panel without disturbing the roof. This is carefulled designed to exactly cover the 55W panels in a Kimberley Kruiser of Kimberley Karavan.
In the photo above, you can also see the Sika penetrating one layer of the “triple insulation” and bonding to the underside of the panel.
RESULTS:
- Excellent performance with less temperature rise than glass panels
- Excellent bonding yet with flexibility
- No exposure to damage from overhead tree branches.
- Cooler inside the caravan
Installation if buying an iKamper Kit from Drifta
These are ordered directly from Drifta who prepared and bond the kits specially for iKamper.
Keep the ends of the solar panel cabling dry and insulated while installing as they will have some voltage. It is best to do the installation under cover or in the shade. Before connecting the solar panels to the solar controller, cover the panels to reduce the solar output. The power from the panels in this state is very small and presents no danger to the DIY installer.
Drifta rout out the polycarbonate underneath to match the profile of the iKamper. You MUST specify the model as there are 2 profile shapes.
They ship the pre-assembled solar kit to you.
You (or your installer) would then place on iKamper as a dry fit to ensure the profile is good. If good then proceed to install on iKamper with just the Sikaflex252. Remember that weights are need to keep pressure on the Solar panel kits as the SikaFlex252 bonds for a 24 hour period.
Wait at least 48 hours after curing before travelling at speed.
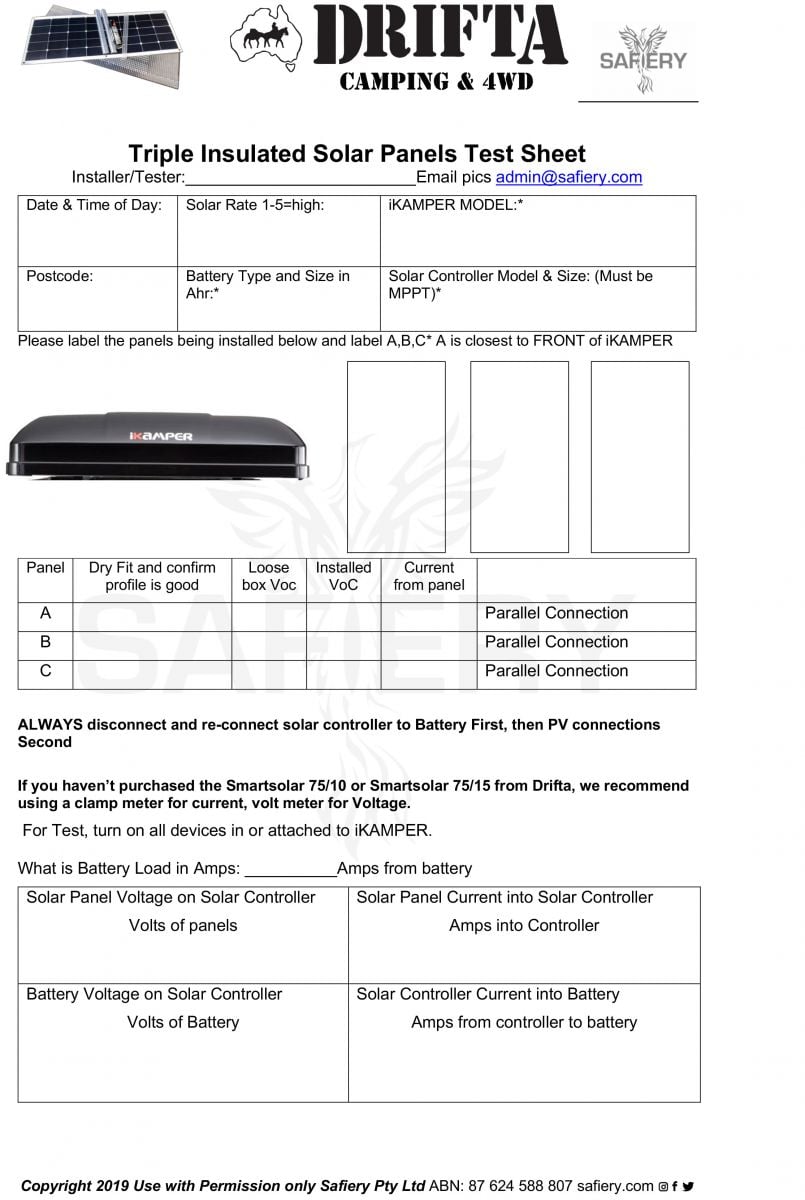
Download the iKAMPER test Sheet by clicking on test sheet image:
Instalation of unassembled kits purchased from Safiery:
Keep the ends of the solar panel cabling dry and insulated while installing as they will have some voltage. It is best to do the installation under cover or in the shade. Before connecting the solar panels to the solar controller, cover the panels to reduce the solar output. The power from the panels in this state is very small and presents no danger to the DIY installer.
These parts, but NOT the Sika are suppled for each solar panel:
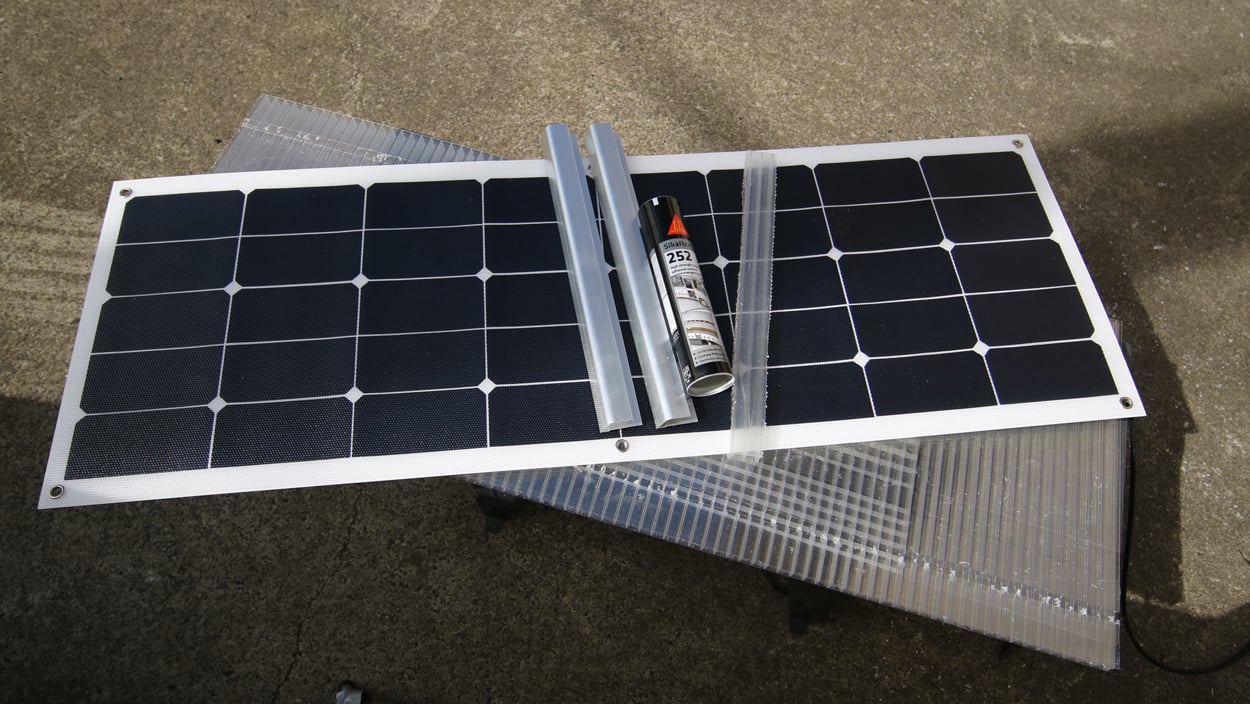
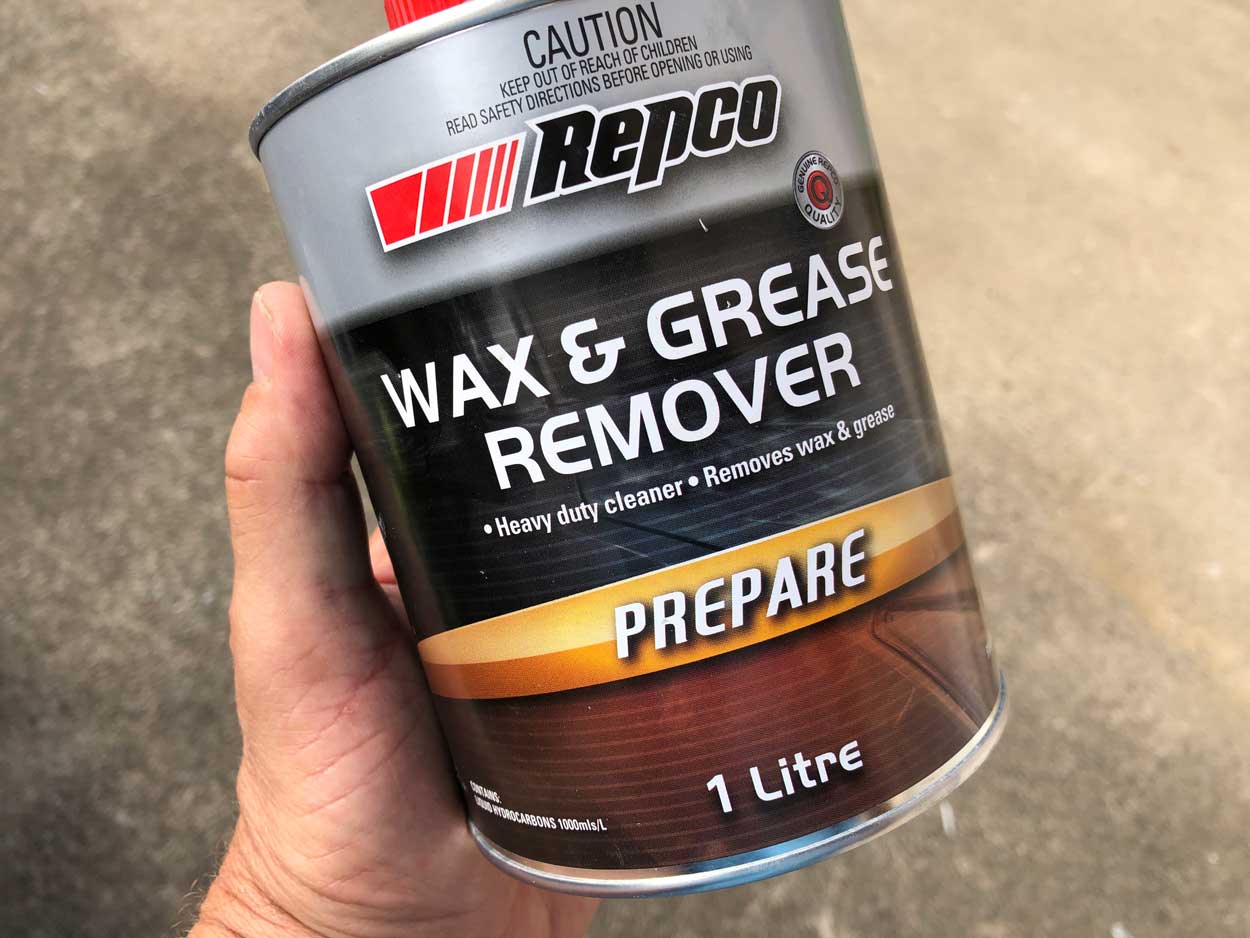
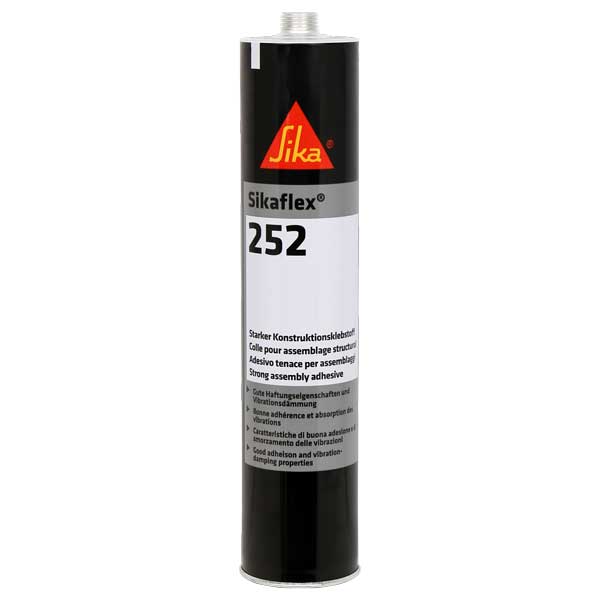
You will need Sika 252. DONT USE ANY OTHER SIKA PRODUCT. IT MUST BE SIKAFLEX 252.
Here is a link to Bunnings: https://www.bunnings.com.au/sika-300ml-white-sikaflex-252-polyurethane-adhesive_p1213763
It is available in White or Black.
The new polycarbonate will be available only in black. However, either colour can be used as the Sika can be contained inside the solar panel assembly.
Here is the video on the assembly:
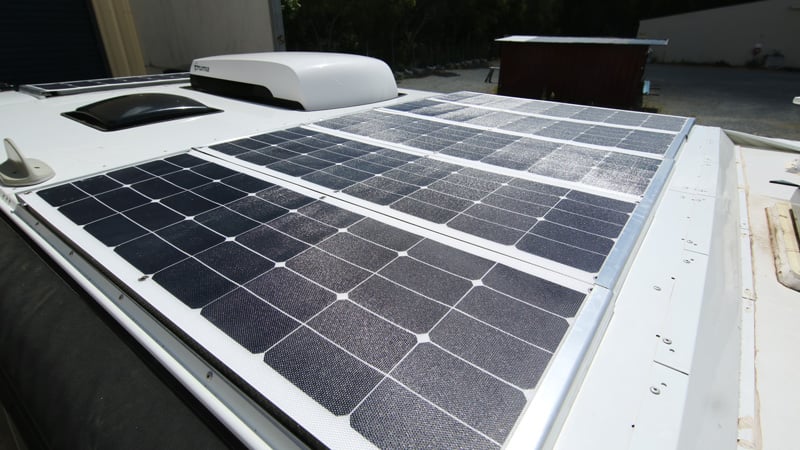
For fixing to the caravan roof, follow the same process of running the Sika down the routed strips and under the front and leading edges.
It is important to:
- Adhere the UV Rated surface facing the Solar Panel in the direction of the solar panel (facing up). There will either be a “UV Protection marked film” or a “White Strip of Tape” to designate this surface.
- Do not cover the solar cells with the protection strips. Leave at lease 2-3mm clear.
- Test the instalation and register for warranty. The test sheet can be downloaded here.


